
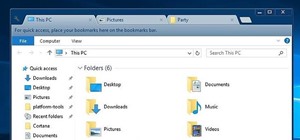
Windows has always been pretty customizable, and there are a ton of ways to change up the way your PC looks—though, it hasn't always been easy. In the past, changing anything other than wallpapers, titlebars, and fonts involved long hours of switching out system files with modified versions and changing icons to no end, but that's not the case with SkinPacks.
SkinPacks are user-created themes that can transform your Windows PC to everything from an Angry Birds-inspired operating system to something that looks like Mac OS X or Ubuntu. With these standalone apps, you can alter just about every aspect of your computer in just a few clicks.
Step 1: Download Your SkinPack
If you are not up for using the SkinPack Creator and would rather use a premade theme, go to the download page (linked below) for your specific Windows version and find the SkinPack that is right for you.
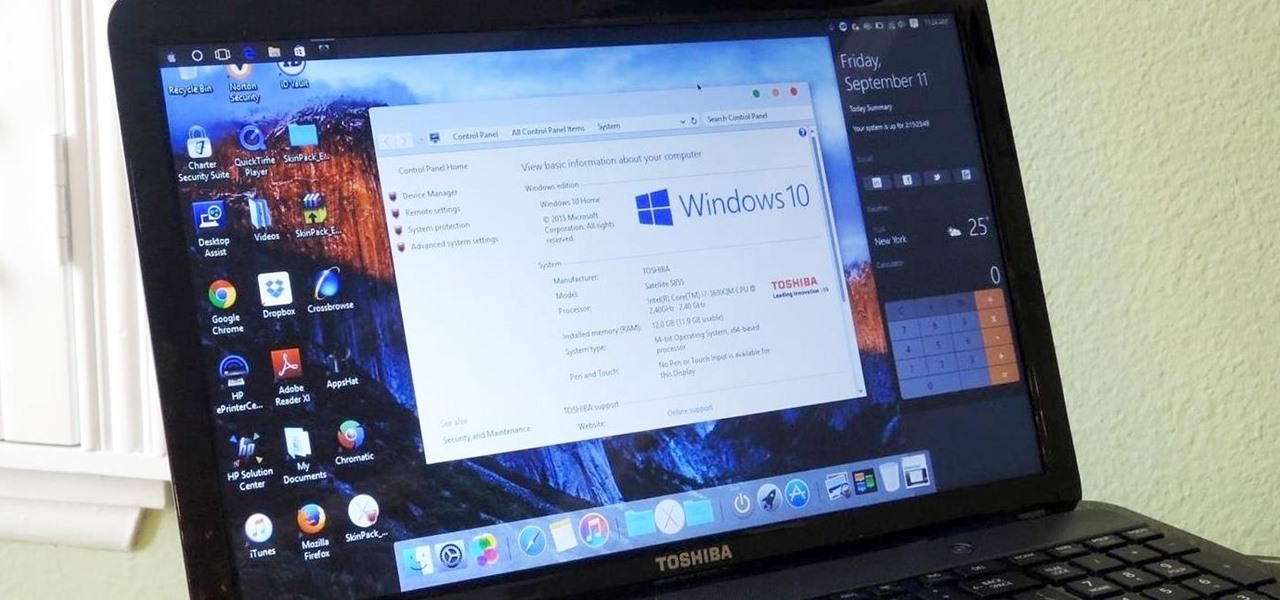
Make sure to check the compatibility section of the SkinPack you choose to see if it can be installed on your PC. For this guide, I am going to be installing the OS X El Capitan Theme for Windows 10, but even if you downloaded something different, the process will be the same.
Step 2: Install Your SkinPack
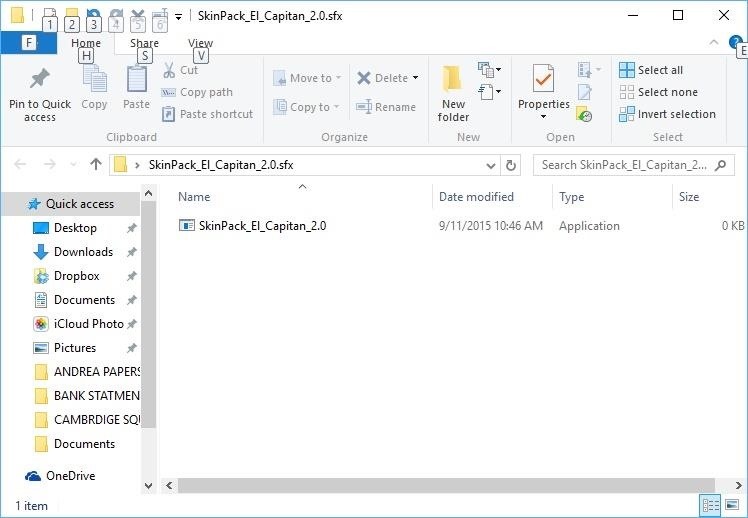
Using apps like WinRAR or 7-Zip, extract the SkinPack and enter the password found on the download page to complete the process (the password should be "skinpacks.com").
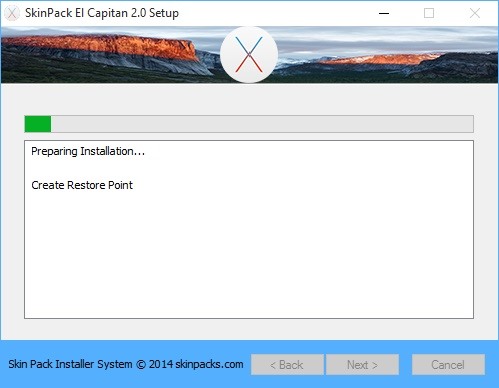
After extraction, run the EXE file and go through the steps until the installation begins. Before you get to the installation options, you'll be presented with a few additional installation offers from third-party apps, but feel free to skip them if you're not interested.

Once you get to the installation options, make sure you check the box next to Restore Point just in case anything goes wrong with the installation. There will also be options to install add-ons like MetroSidebar and RocketDock, depending on the theme you downloaded.
Step 3: Enjoy Your New Theme
The theme will be automatically applied when the installation is completed, so there is no need to restart your computer.


How to Remove SkinPacks
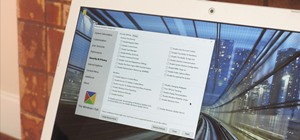
If you find yourself getting tired of your theme and want to switch it up, you will first need to uninstall your previous SkinPack through the Programs list in Control Panel. However, if something went wrong with the install process and you are trying to get your PC back to normal, I'd recommend using the System Restore option.
Did you create your own theme, or download one of the featured SkinPack themes? Be sure to show off you screenshots in the comments section below, or share them with us over on Facebook, Google+, or Twitter.
Just updated your iPhone? You'll find new emoji, enhanced security, podcast transcripts, Apple Cash virtual numbers, and other useful features. There are even new additions hidden within Safari. Find out what's new and changed on your iPhone with the iOS 17.4 update.


Be the First to Comment
Share Your Thoughts