Clearing the cache on your computer is (usually) a quick and easy way to help speed it up. Deleting those temporary files frees up space, helping you computer run smoother, especially if you have not cleared the cache for a extended period. However, finding the different caches in Windows 8 is a little trickier than in previous Windows systems.
Since Windows 8 is basically running two different computing environments at once (the new Start Screen/Metro UI and the regular desktop) you actually have to clear a bunch of different caches.
Delete Your Temp Files
To start with the basic temporary file cleanup, go to the Start Screen and type "disk."
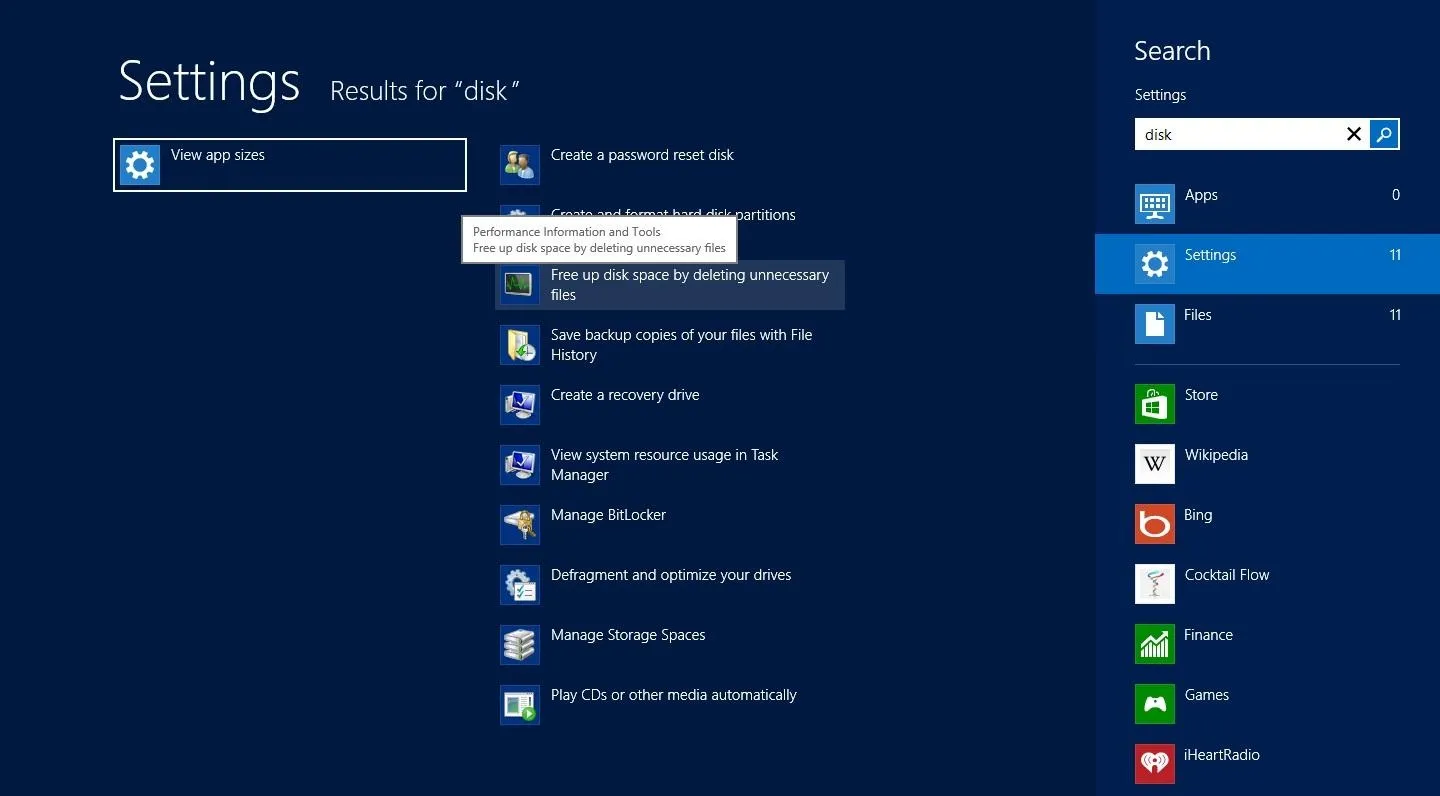
You will see an option to "free up disk space by deleting unnecessary files" under the settings tab. Click on this to run Disk Cleanup.
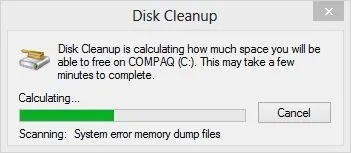
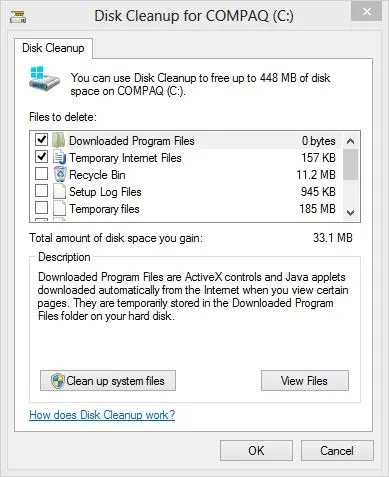


From here you can select the files you wish to delete and you can also see the estimated space will gain from your actions. But even after deleting your temp files here, there are still other Metro applications that require their own cache clearing.
Delete Your Internet Explorer History
You can clear the cache for the desktop version of Internet Explorer by following the previous step, but the Metro version of Internet Explorer is a completely separate browser.
In order to delete its browsing history and clear the cache you will first need to open up the Start Screen version of IE10. Once the app is up and running access the Charms Bar (Windows Key and C). There you will see Internet Options. Note: IE10 must be open and in the actual window for the Internet Options to even be visible. There is no other way to access this particular Internet Options menu.
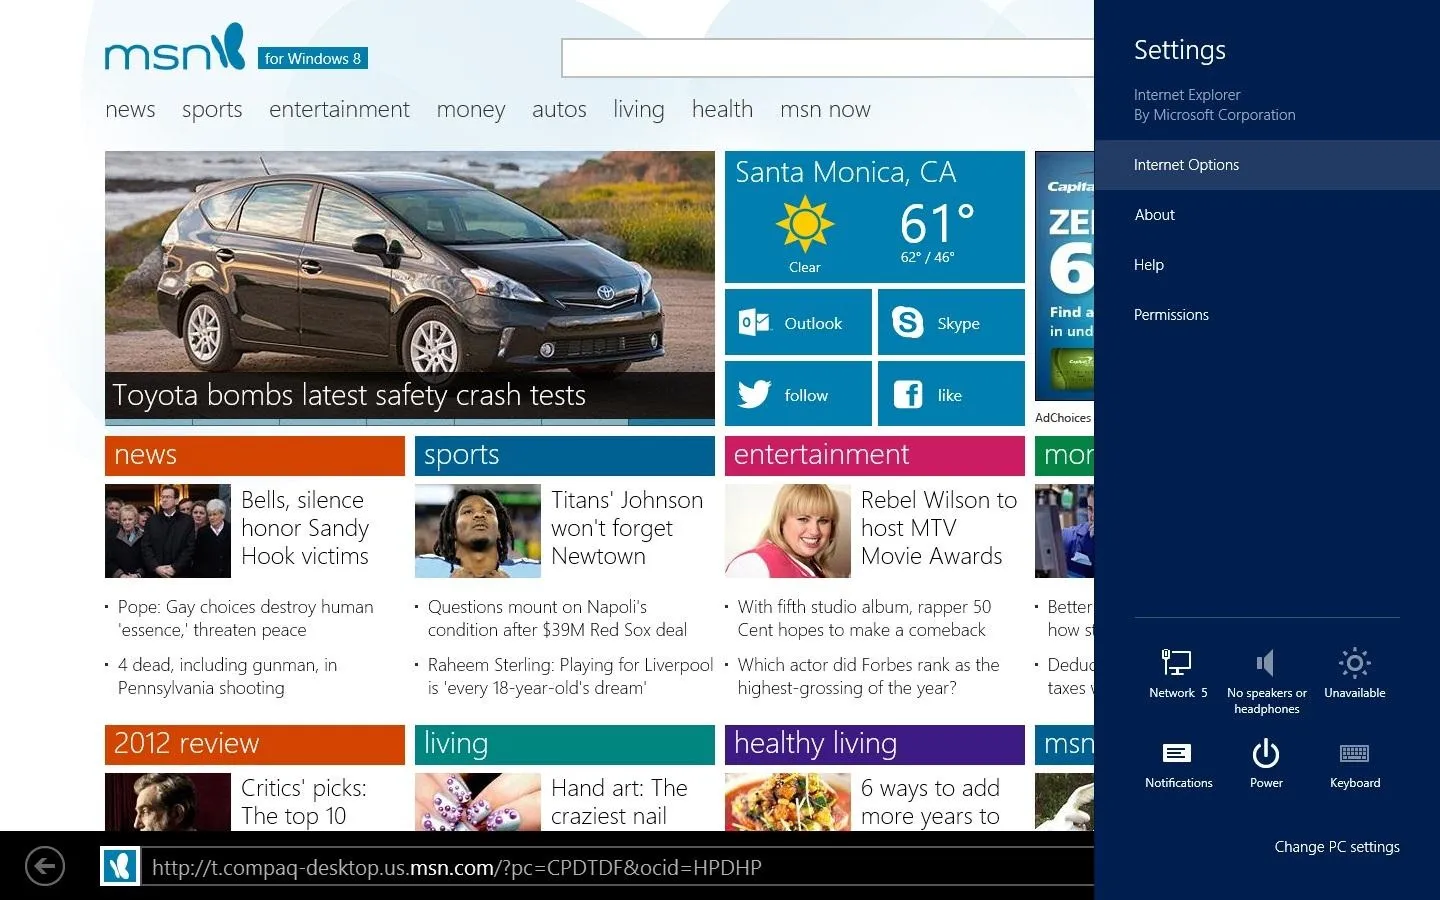
Once open you will see "Delete Browsing History" at the very top of the menu. Click on this to clear it out.
Clear the Windows Store Cache
To clear the Windows Store's cache you must open Run (Press Windows Key + R). Once open type in, WSReset, and click OK. The Windows Store application should automatically open. If successful, you should see the following screen confirming that the cache was cleared.

Clear Your Windows Search History
The search function in Windows 8 is probably the one I use the most. It is by far the easiest way to locate files and programs instead of searching both computer environments. Windows 8 will learn from your previous searches to help prioritize which apps it searches first, but every now and then it's nice to make it forget. Since I do use this search function all the time, I want to clear this cache as well. Open up the Charms Bar and hit PC Settings.
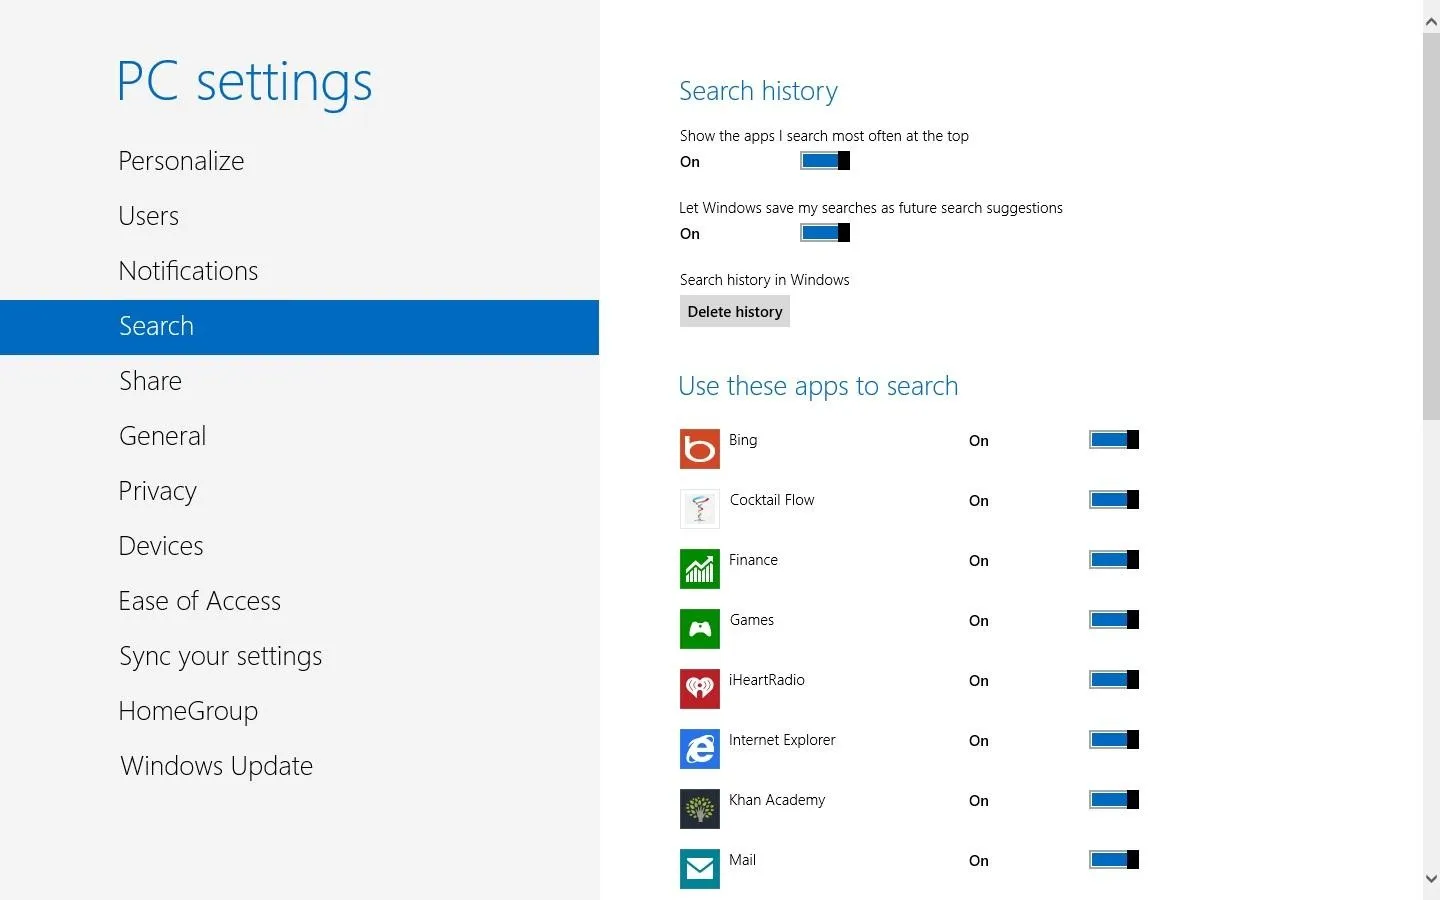
Click on the Search tab and you should see Search History at the very top. There is an option to Delete History. Click it, and the Search history will be cleared.
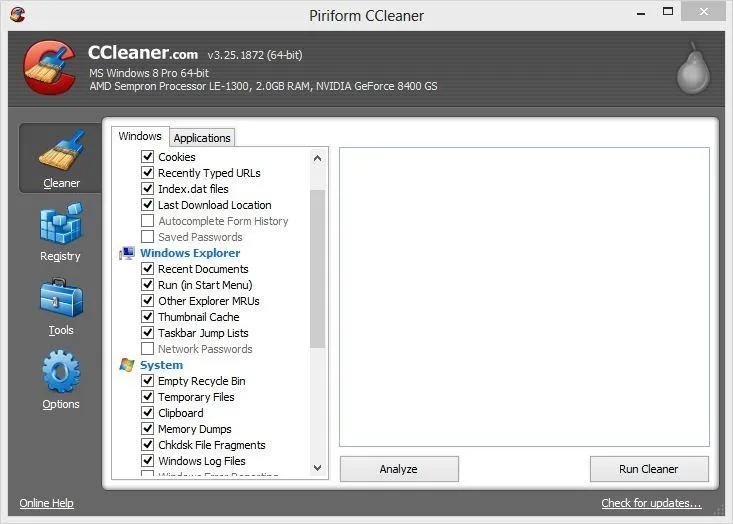
And always remember to clear the cache on all your other browsers as well. While you can do this by going into each browser and clearing the cache, you can download CCleaner and clear the cache for all of your browsers at once (save the IE10 Metro app).
Clear Your Live Tile Cache
The live tiles on your start screen cache the data that flips across them. Sometimes when you delete something, the cached version will still show up on the live-tile. I noticed this after seeing some of my deleted pictures flip up on the Pictures app live tile. To clear the live tile cache, open the start screen, and from the charms bar (Windows Key + C) select Settings -> Tiles -> and tap the Clear button under the clear personal info from my tiles prompt.
You're Done!
There should be a much simpler way to clear the cache for your entire computer, but for now, these tips should help you keep you computer's disk space in check.









Comments
Be the first, drop a comment!