Microsoft's new voice-enabled virtual assistant, Cortana, is a lot like a blend of Siri's personality and Google Now's predictive capabilities—but the best part is it's baked right into the taskbar in Windows 10.
Cortana requires a bit of initial setup, which I'll go over in more detail below. But, once you've got everything fine-tuned to your liking, Windows 10's new virtual assistant should make using your computer a more personal and intuitive experience than ever before.
Enable Cortana
Cortana is an opt-in service, which means it is not enabled by default. To get started on setting it up, just click the search box right next to the Start button in your taskbar.
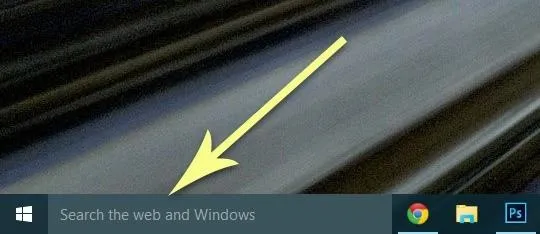
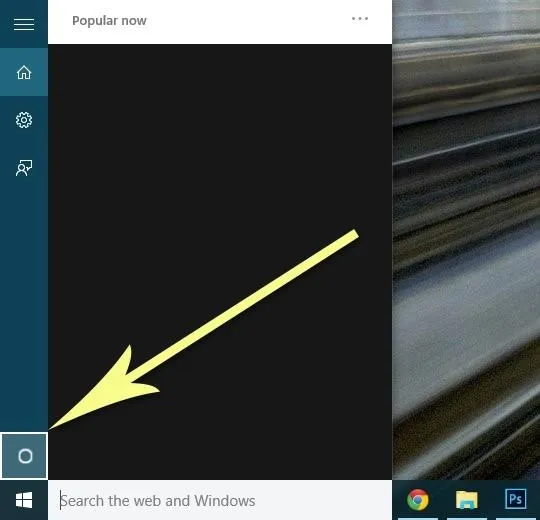
From here, click the Cortana icon in the bottom-left corner of the popup, which looks like a circle just above the Windows logo.
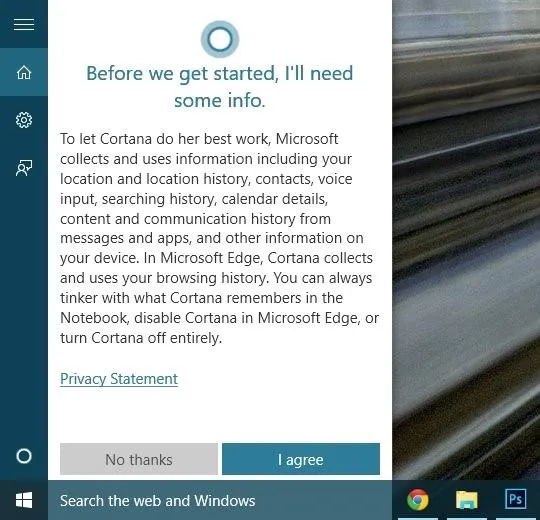
Next up, you'll see Cortana's privacy statement, which informs you that the service uses data from various sources to streamline your experience. If you're ready to try out Cortana, click "I agree" here.
Enable 'Hey Cortana' Voice Search (Optional)
If you have a compatible microphone connected to your PC, you'll be able to dictate your searches to Cortana verbally by clicking the microphone icon in the search bar. But for a more immersive experience, try enabling hotword detection, which will cause Cortana to start up and begin listening for a query any time you say "Hey Cortana."
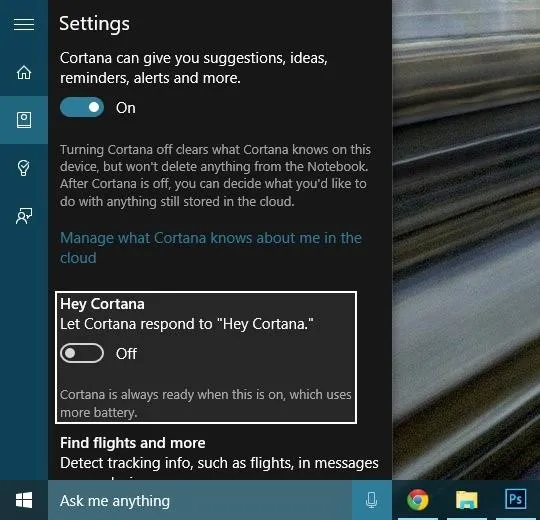
To set up "Hey Cortana" hotword detection on your computer, click the Notebook icon in Cortana's sidebar menu (which looks like a book with a small circle on the cover), then head to "Settings."
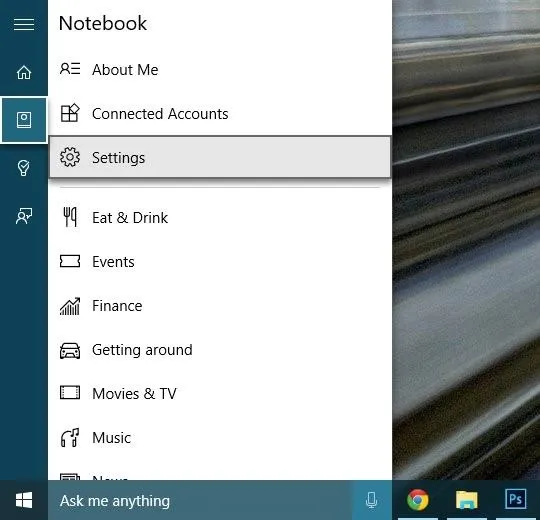
From here, scroll down just a bit, then toggle the switch next to the "Hey Cortana" entry.
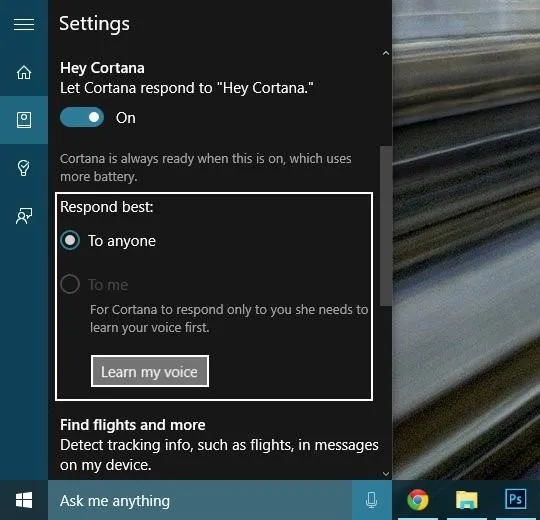
With the main service now enabled, you can set the "Hey Cortana" hotword feature to only respond to your voice. This will require that you train Cortana to recognize your voice, so click the "Learn my voice" button to begin.
From here, you'll be prompted to repeat six written phrases aloud. Do your best to sound natural here, and when you're done, Cortana will respond best to your voice.
Tell Cortana Your Name
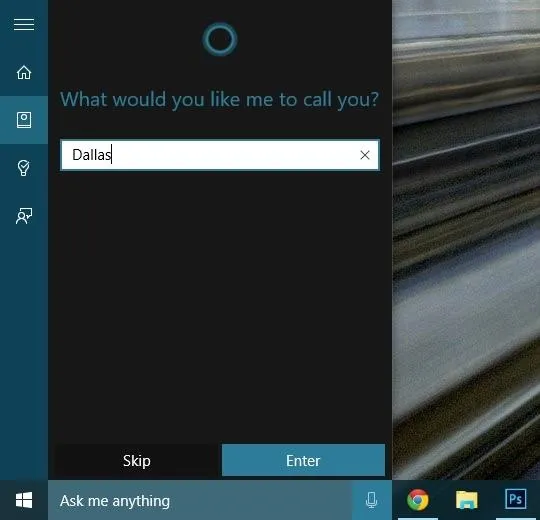
To personalize your experience a bit more, click the Notebook icon in Cortana's side menu again, then select the "About Me" entry.
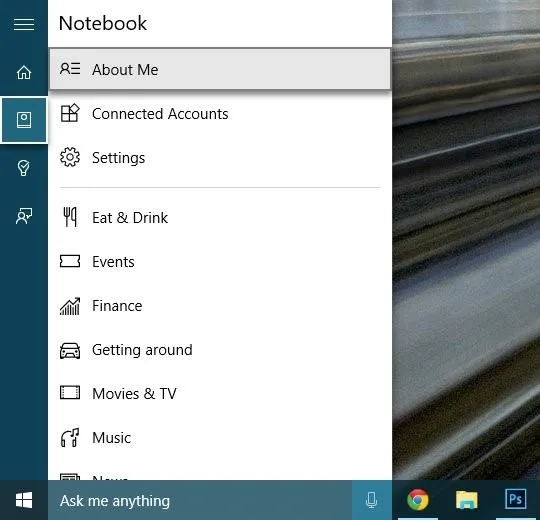
From here, select "Change my name," then type your name into the provided field and click "Enter." From now on, Cortana will address you by name when fielding your questions, which makes the whole "virtual assistant" thing feel a lot more personalized.
Save Home, Work, & Other Addresses
For Cortana to work best, you'll need to teach the service about yourself. For instance, when asking for directions, Cortana can assist you better if it knows exactly where you're starting from.
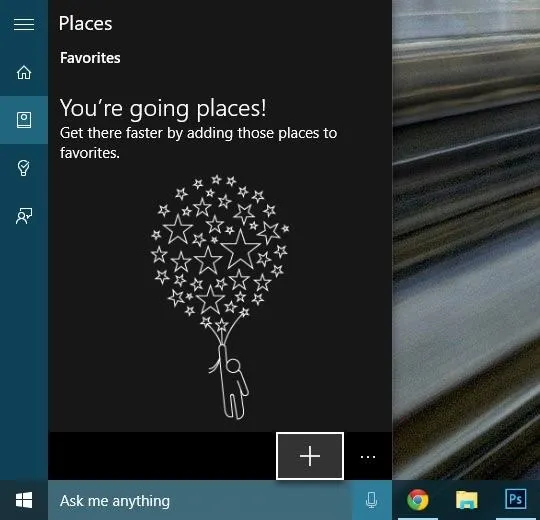
To add addresses such as home, work, and your other favorite places, head to the Notebook menu and click "About Me" again. From here, select "Edit favorites," then click the + button near the bottom-right corner.
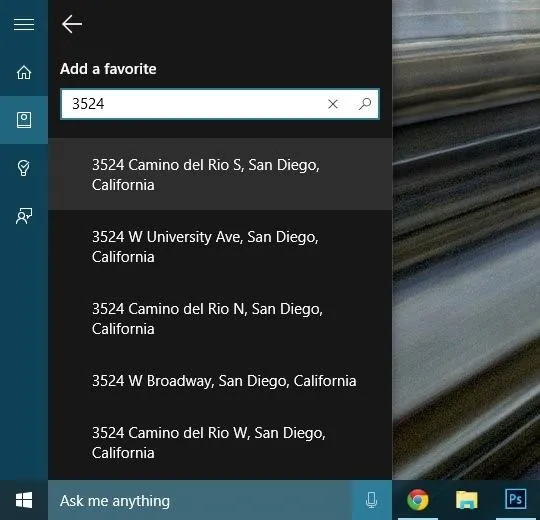
Next, use the search box at the top of the menu to enter the address for your workplace, home, or any other location that you would like Cortana to remember.
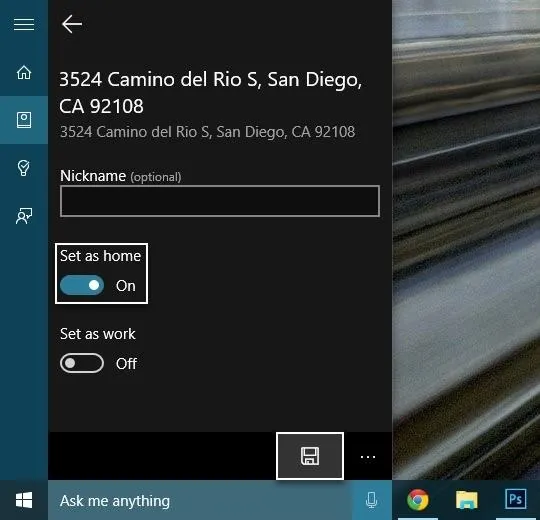
Once you've selected the address, you'll get a chance to enter a nickname for this place, or you can set it as "Home" or "Work" by using the toggle switches directly beneath this field. When you're done here, make sure to click the "Save" icon in the bottom-right corner.
Teach Cortana About Your Preferences & Tastes
Cortana really is a one stop shop for all types of queries, so the more the service learns about your tastes and preferences, the easier it will be to find the information you're looking for.
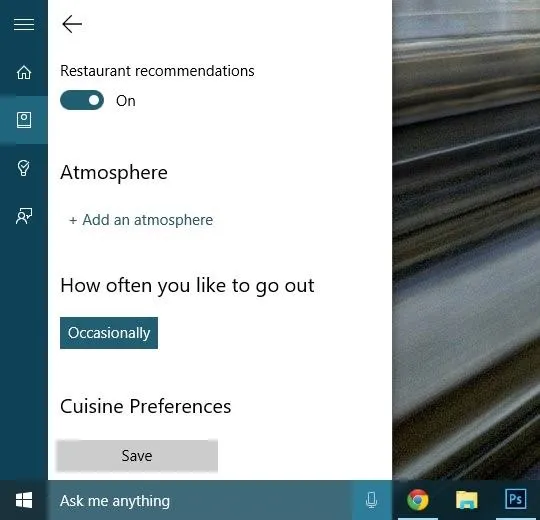
To give Cortana information about the type of restaurants you like or your preferred mode of transportation, for instance, start by clicking the Notebook icon in Cortana's side menu. From here, you'll see a list of various categories—just click an entry to add more information to it.
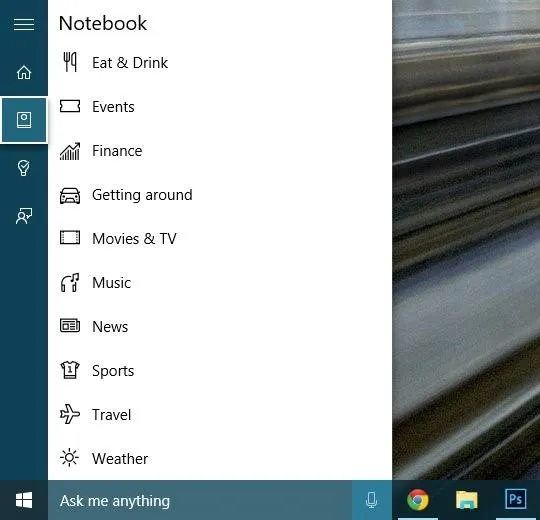
Once you've selected a category, you'll be able to add your local sports teams to get live game updates, let Cortana know your favorite music genres, or enter company names to keep track of stock prices—and that's just to name a few.
Use Cortana to Assist You in Everyday Life
Now that you've got Cortana set up and tailored to your preferences, using the service should be a simple and intuitive experience. Microsoft chose to put Cortana's interface right next to the Start button for a reason, after all, and that was to serve as a starting point for many of your daily tasks.
At-a-Glance Information
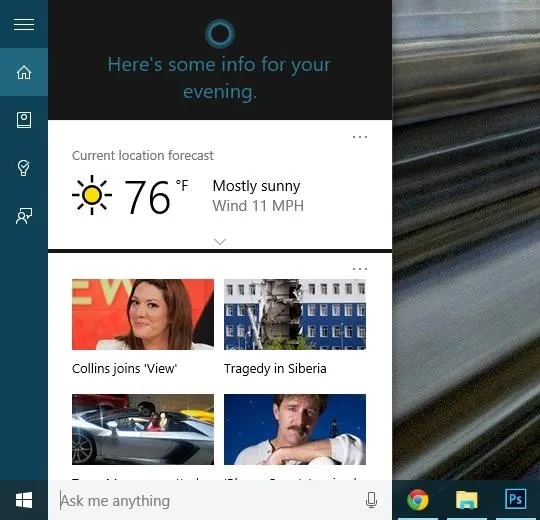
As soon as you click the Cortana search box—even before you actually perform a search—you'll see a series of cards that display relevant information. These cards aim to answer your questions before you even ask them, and they're ordered by what Cortana thinks is most relevant to you at this exact moment. Quite helpful, right?
Ask Any Question
Cortana is obviously much more than a search box, but at its core, the service is still definitely search-centric. This means you can type or ask any question, and Cortana will pull results from a list of your local files and installed apps, or from Bing web, maps, image, and video search.

Set Reminders
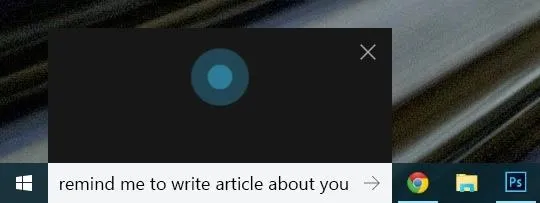
Cortana's virtual assistant moniker comes into play when you ask it to set a reminder for you. Saying or typing "Remind me to (blank)" will prompt you to enter a time or location for your reminder, or you can skip the second part by saying it all at once—"Remind me to take my vitamins every morning at 8," or "Remind me to buy dish soap the next time I'm at Target," for instance.
Get Directions
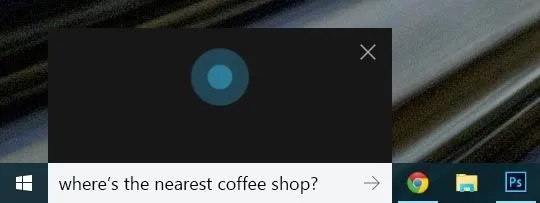
Searching for nearby businesses is another central part of Cortana. You can ask conversational questions like "Get me to the nearest coffee shop," or "How far is it to Chicago," so location-based searching is rather easy.
Have Fun
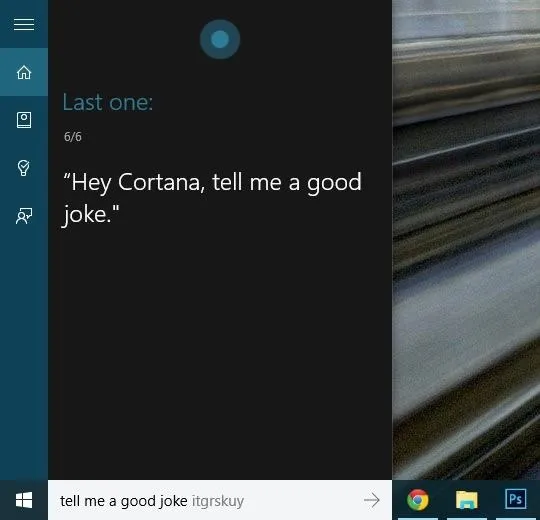
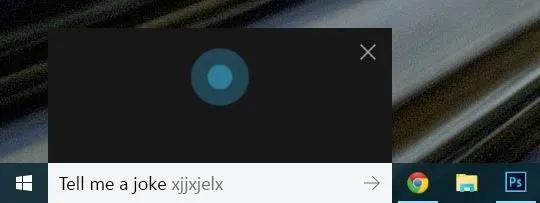
With all of the task-oriented features Cortana sports, it's nice to see that the service comes bundled with a sense of humor. If you're looking for a quick laugh or an interesting tidbit of information, try commands like "Tell me a joke," or "What's up?"
What are your favorite uses for Cortana so far? Let us know in the comment section below, or drop us a line on Facebook, Google+, or Twitter.










Comments
Be the first, drop a comment!