Screenshots are an indispensable tool when it comes to relaying information about what's currently showing on your monitor. Whether you need help troubleshooting an issue or you just want to save and share a protected image, screenshots are often your best bet.
- Don't Miss: 45 Windows 10 Tips You Need to Know (Plus 15 More)
- Don't Miss: 10 Hidden Windows 10 Features You Should Know About
With the release of Windows 10, a few things have changed regarding screenshots. There are new hotkeys and keyboard shortcuts, a screen recording tool, and even some new third-party utilities—so I'll cover all of your best options below.
Paste the Screenshot into Any Photo Editor
This first screenshot method is tried and true—using built-in keyboard shortcuts, you can capture your entire display, then paste these contents into any photo editing program to apply tweaks and save the image as a file.
First, if you'd like to capture all the contents of your screen in one image, simply press the Print Screen or Print Scr button on your keyboard. On some keyboards, you may also have to press the Function key as well, so refer to your keyboard's manual if you're having any trouble here.
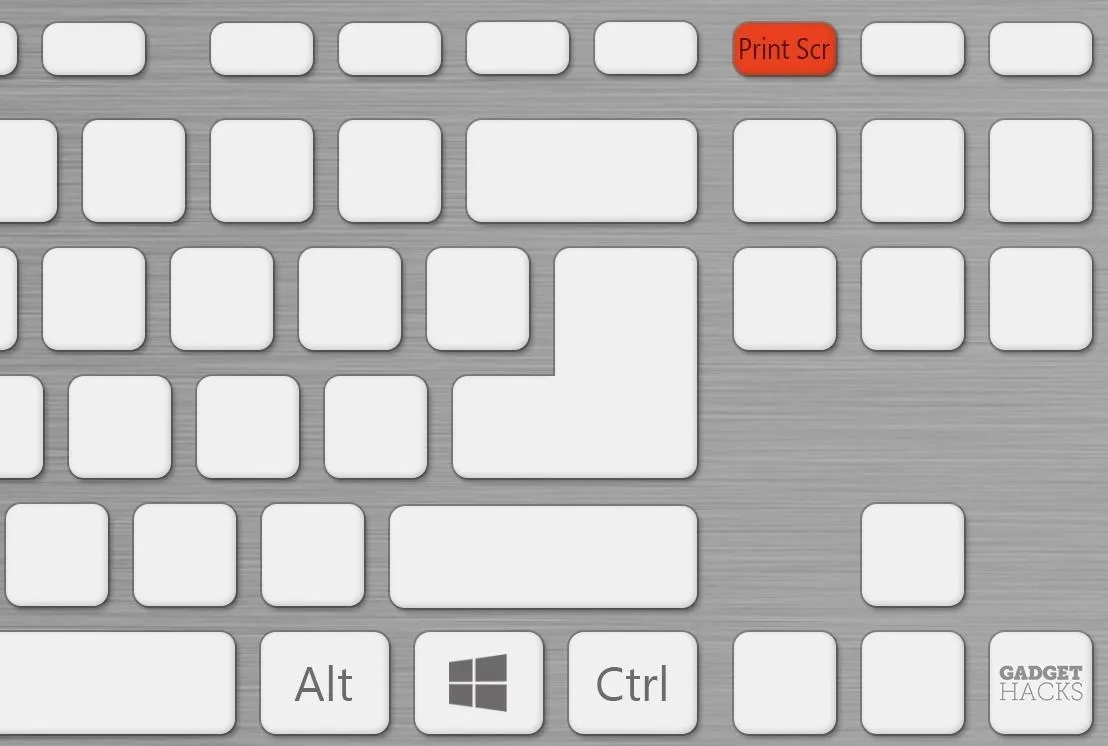
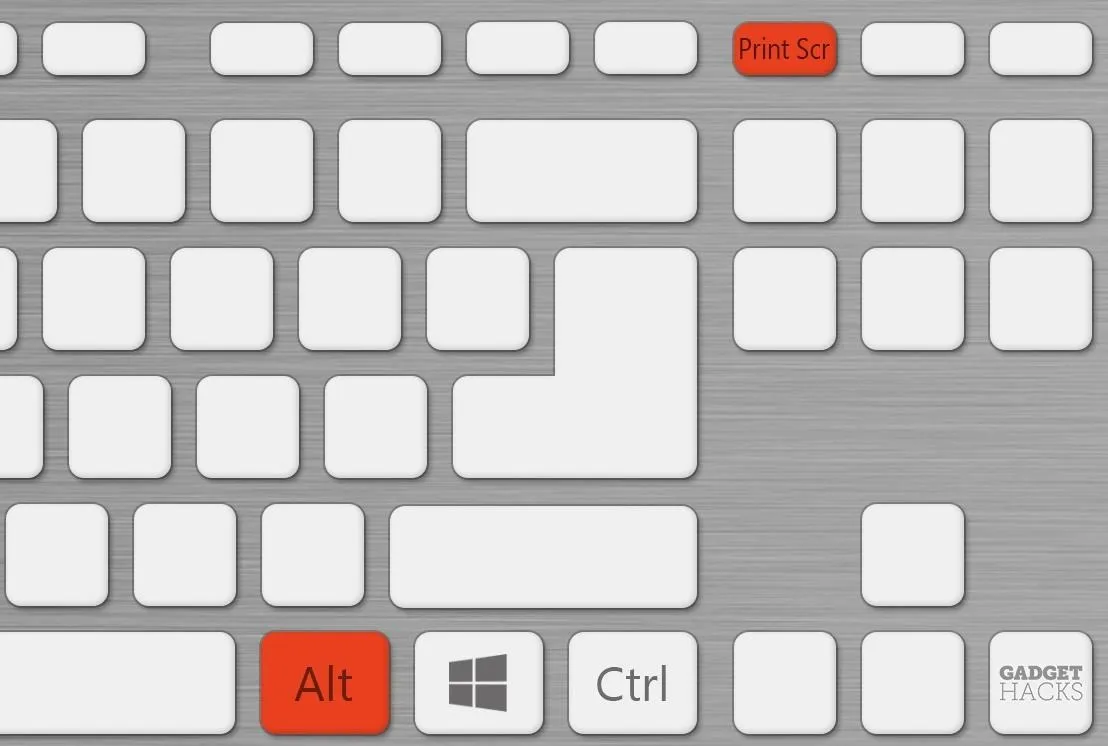
As a second option, if you just want to capture the foreground window in your screenshot—meaning only the contents of the window you're currently viewing—simply press the Alt and Print Screen buttons simultaneously.
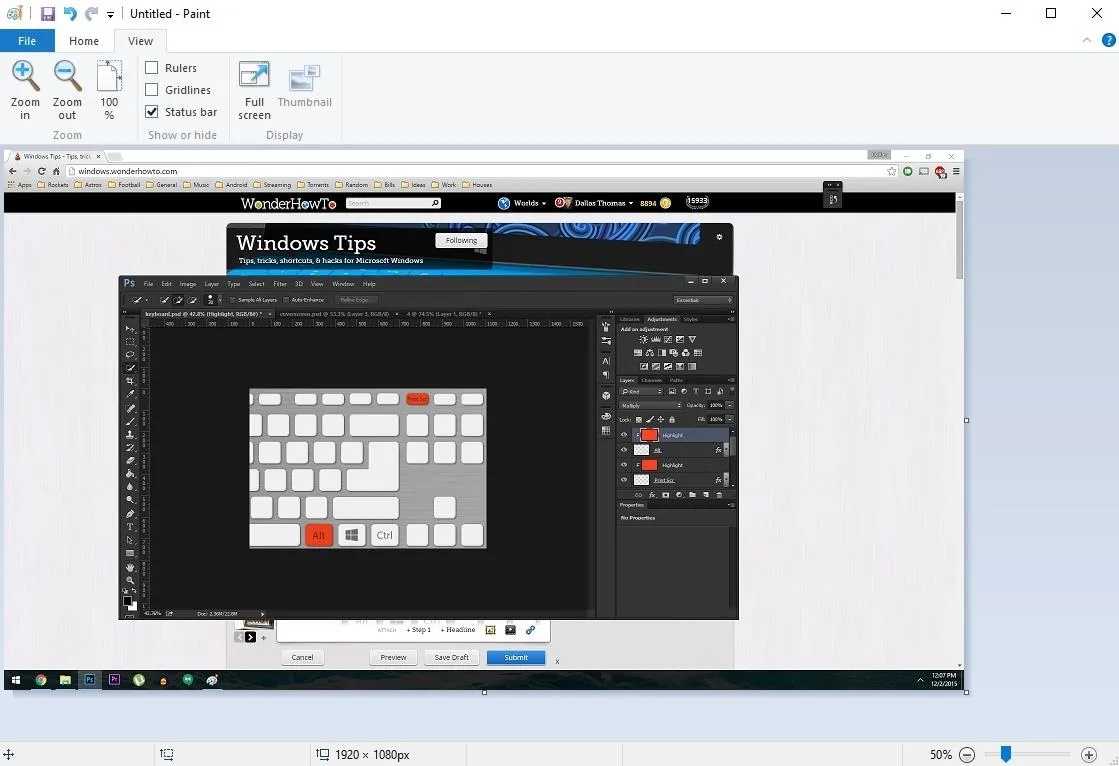
At this point, open your favorite photo editing app—or if you don't have one installed, simply press the Windows button on your keyboard and type "Paint" to open the built-in photo editor.
From here, either click the "Paste" button in your photo editor, or press Ctrl + V on your keyboard to paste your screenshot into the workspace. After that, you can use your photo editor's built-in tools to crop and adjust the screenshot, but make sure to save the file when you're done.
Save the Screenshot to a File
For a second option, you can skip the middle man and directly save your screenshot as a file without having to paste it into a photo editor. To try this one out, simply hold the Windows button on your keyboard, then tap the Print Screen button to capture your screenshot.
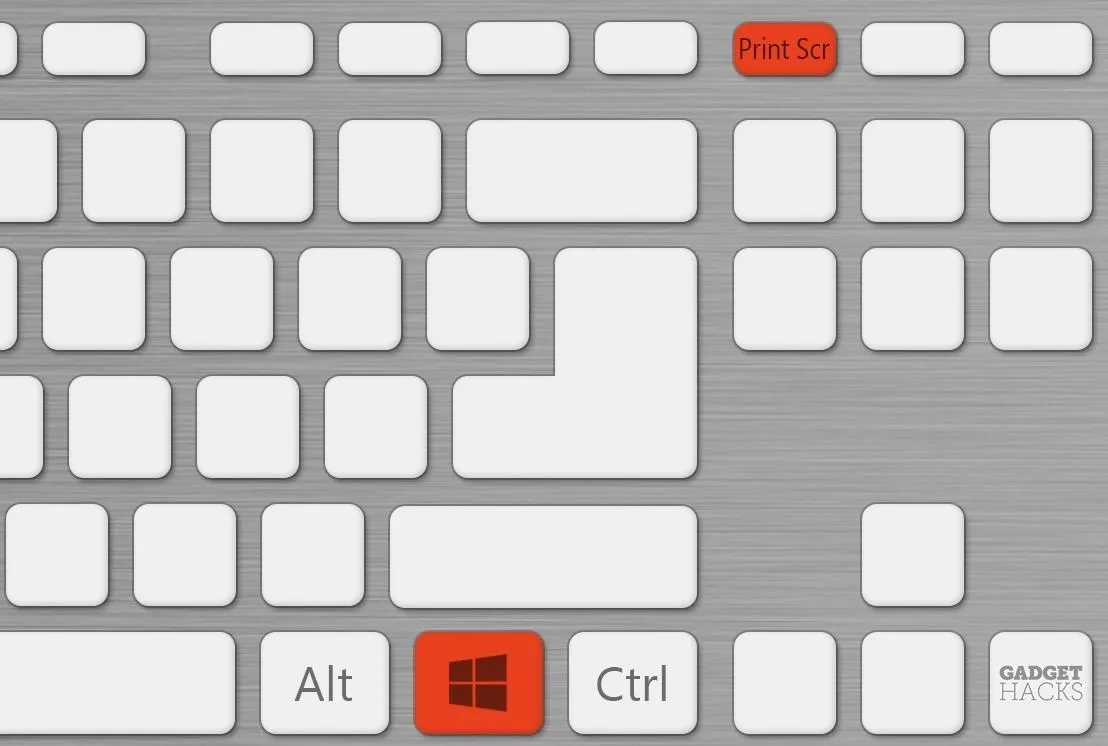
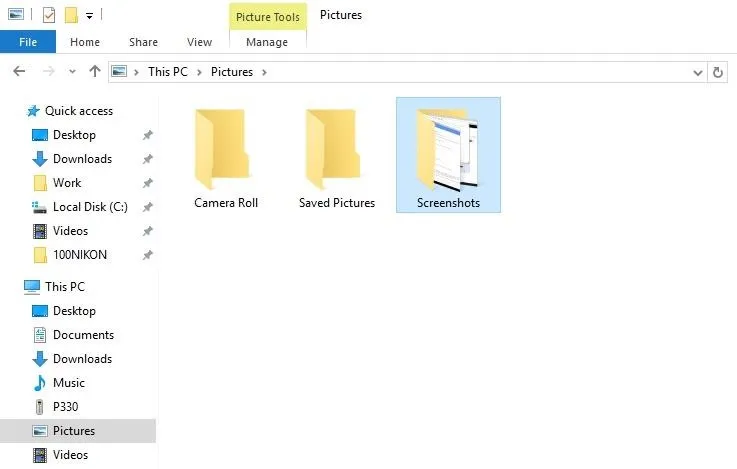
You'll see a quick animation at this point, which means your screenshot has already been saved as a file. To view this image, head to your Pictures library in Windows Explorer and open the "Screenshots" folder.
Use the Windows 10 Screen Recording Tool
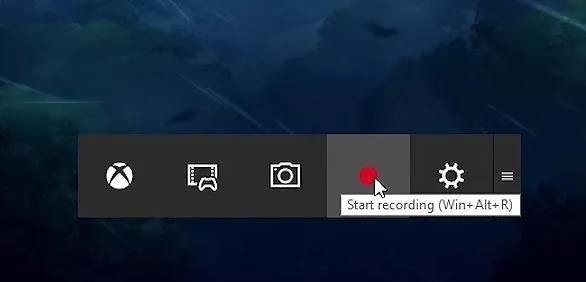
If you'd rather have a point-and-click interface for capturing screenshots, Windows 10 has a cool new screen recording tool that you can bring up at any time by pressing Windows + G on your keyboard. Taking a screenshot from here is simple—just click the camera icon in the middle. For more information on setting up and using this new utility, be sure to check out Isaac's full article here,
Use a Third-Party App
If the built-in Windows 10 screenshot solutions just don't cut it for you, a good third-party screenshot tool can offer additional functionality like the ability to sync with a cloud account. Our favorite such utility is called Greenshot, and it's a free open-source program with lots of great options.
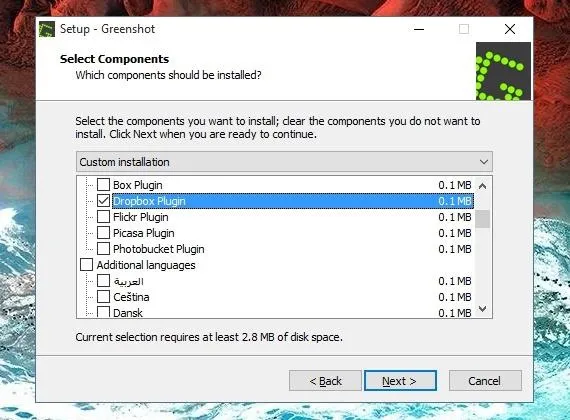
To get started, grab the Greenshot installer file from this link, then go ahead and launch it and run through setup. Along the way, you'll be asked if you'd like to install additional components—this is where you can choose your favorite cloud storage service for syncing screenshots later.
From here, expand the notification tray in the bottom-right corner of your screen and right-click the Greenshot icon to view more options. If you'd like, you can click the "Preferences" entry to adjust several key settings.
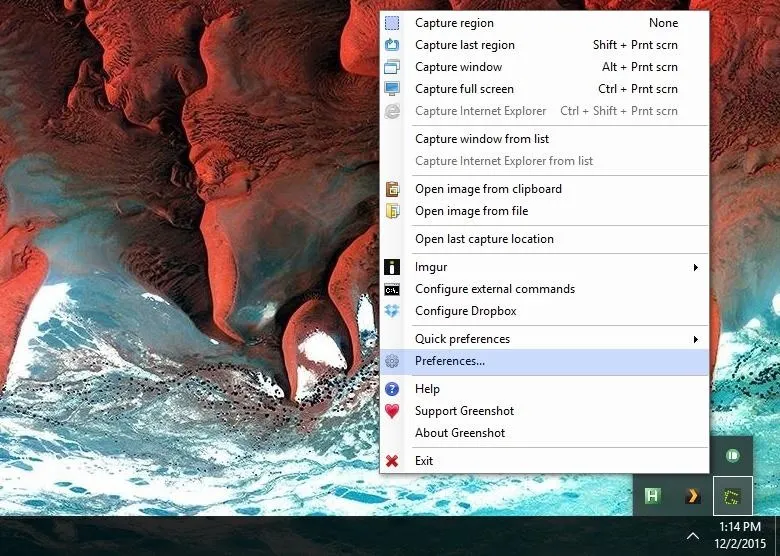
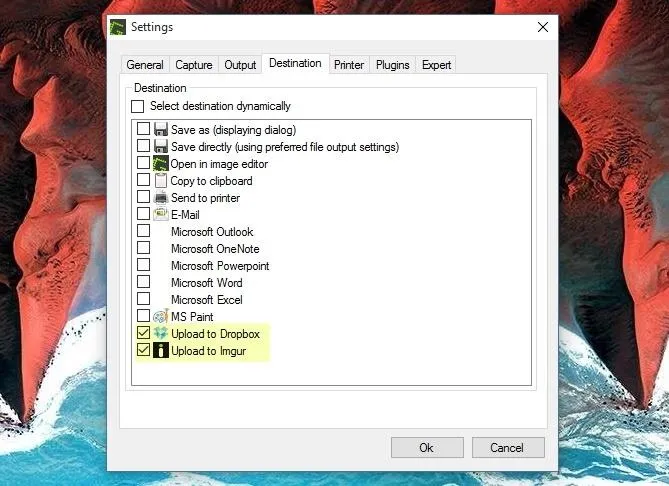
Options here include the ability to set custom keyboard shortcuts, choose the default folder for saving screenshots, and even a setting for automatically uploading your screenshots to the cloud. In fact, there are lots of ways to tailor Greenshot exactly to your liking, so poke around a bit and find the configuration that works best for you.
What screenshot solution did you end up using? Let us know in the comment section below, or drop us a line on Facebook, Google+, or Twitter.


Comments
Be the first, drop a comment!