


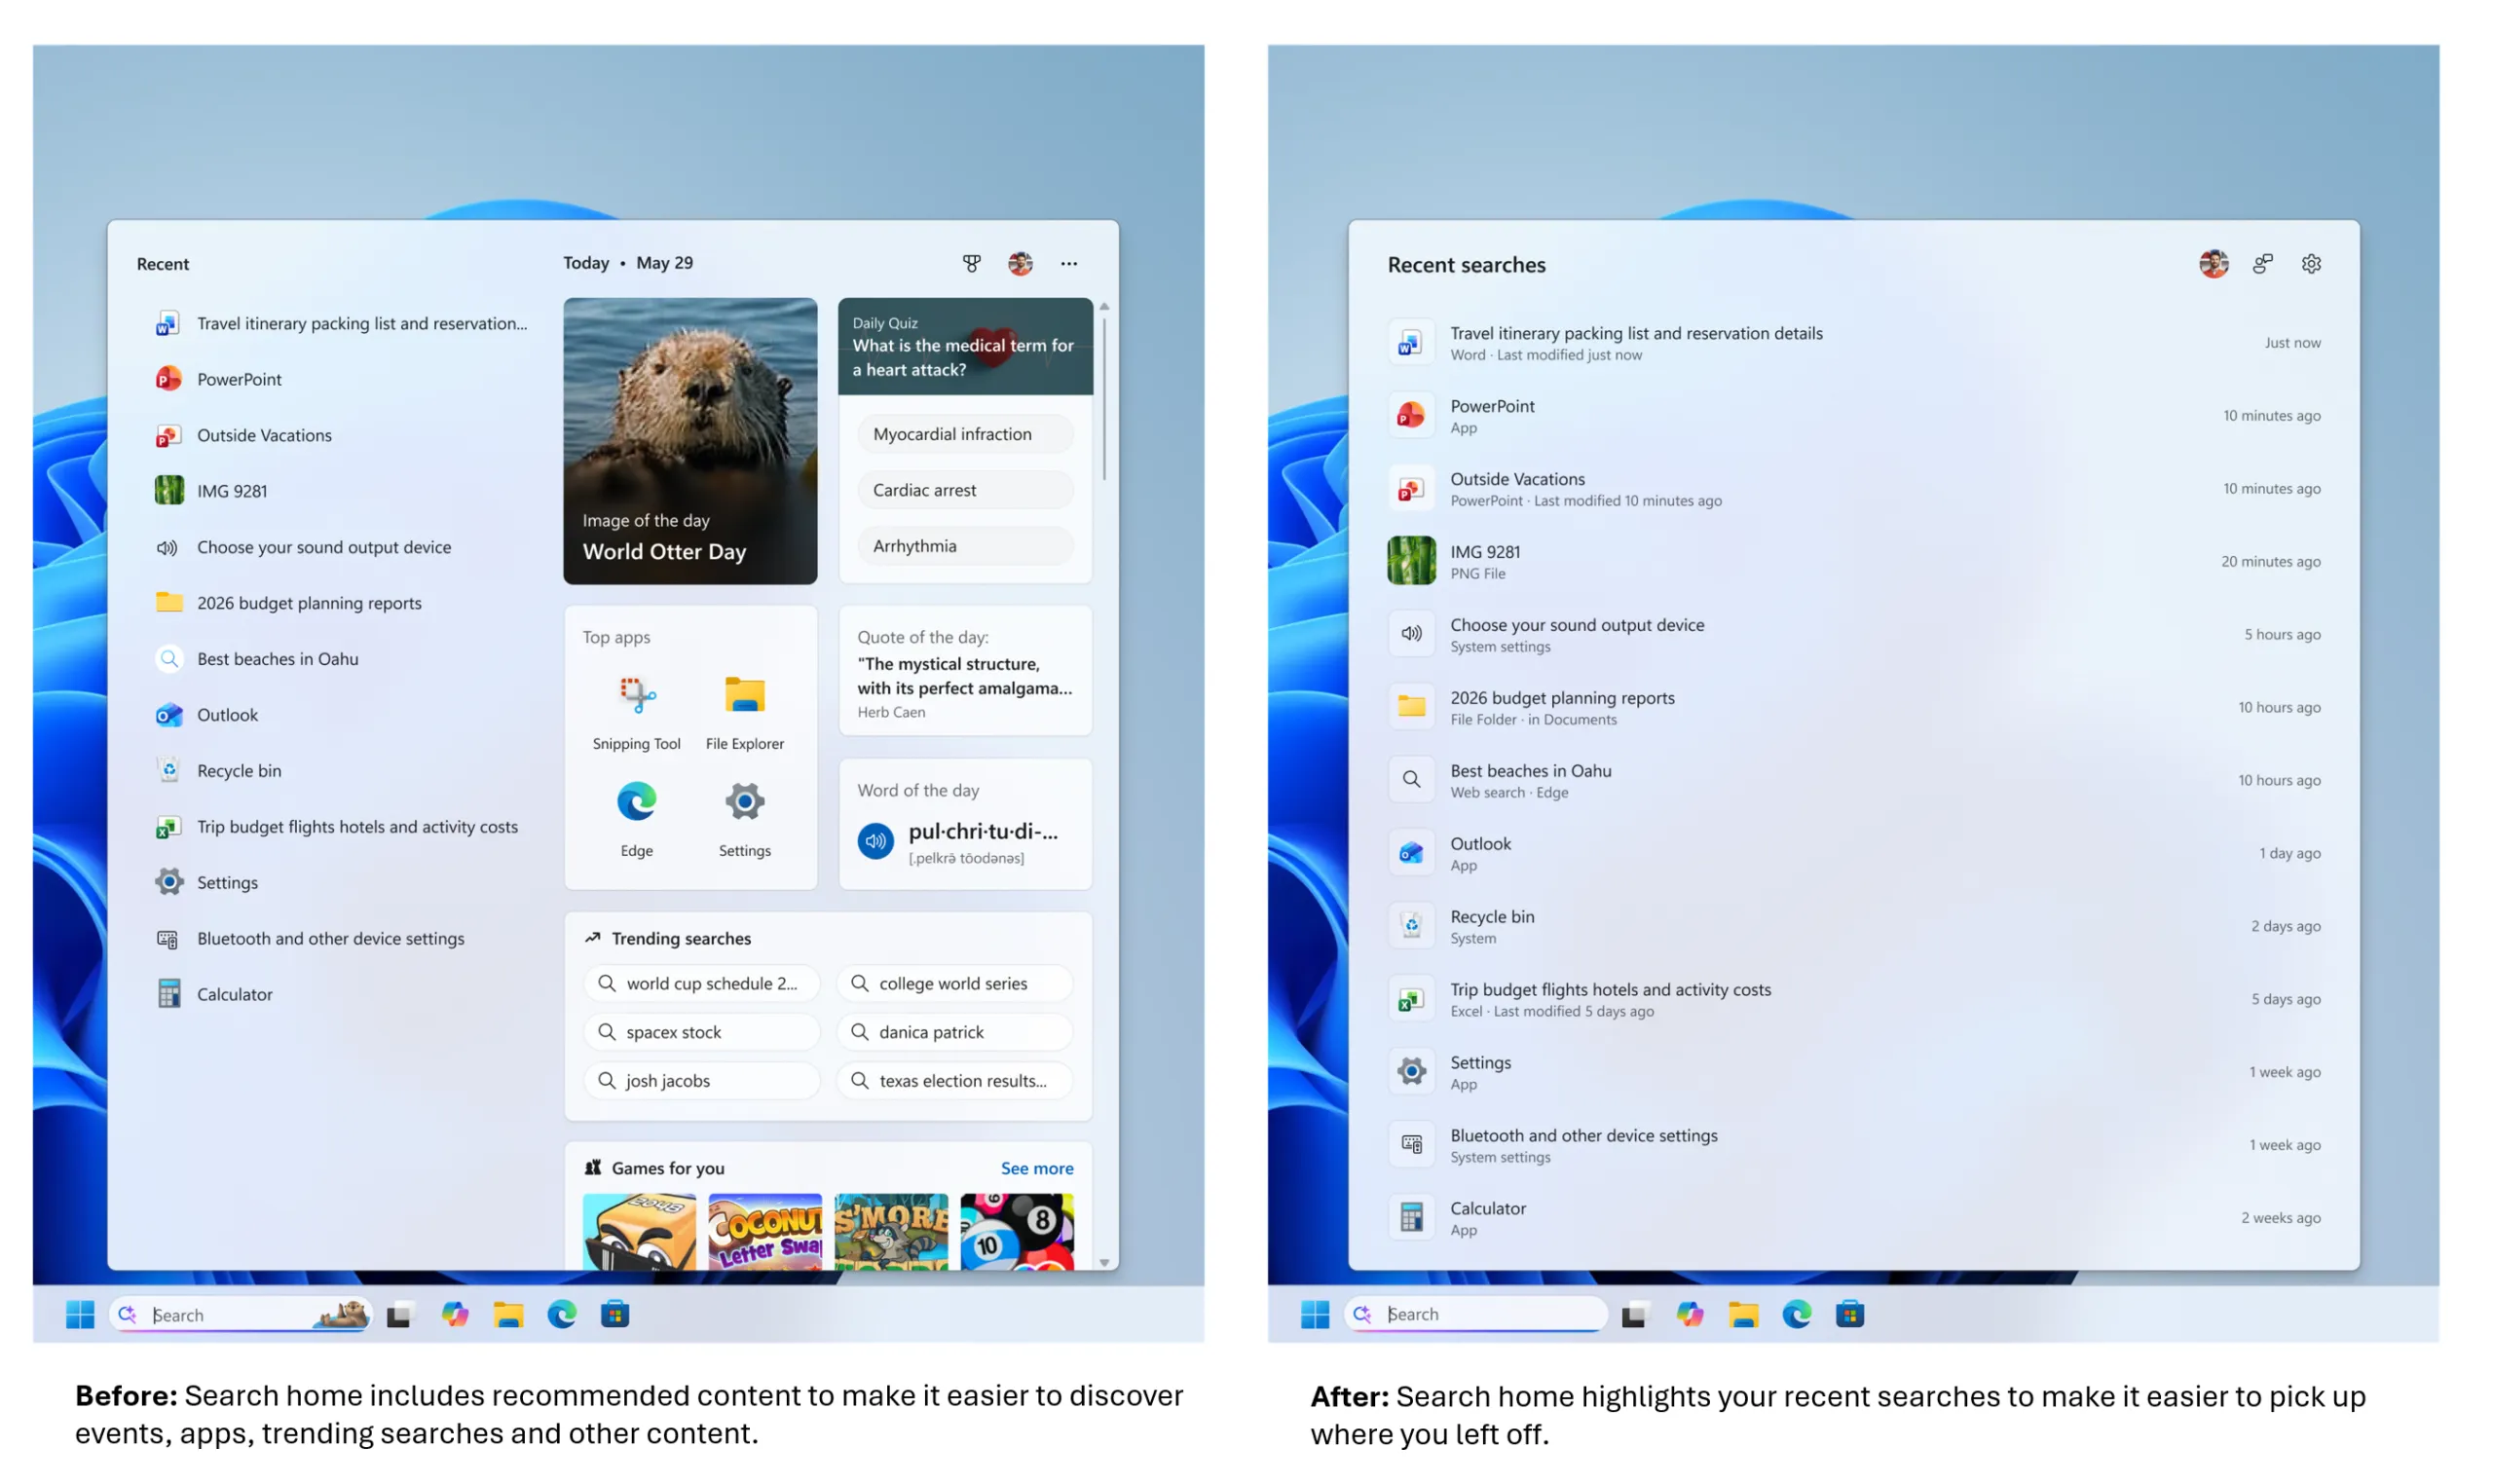
Tiny11 for Windows 11 26H2: Download or build a safe ISO
Most guides skip straight to the download link. That's the problem. Unofficial mirrors and repackaged Tiny11 images circulate widely, and there's no reliable way to audit what's been added to them. This guide is about getting a verifiable ISO either by confirming the source before downloading, or by building the image yourself from a clean Microsoft-distributed file.
Two paths are covered: downloading a prebuilt release directly from the project's GitHub page, or running the builder script against an official Windows 11 ISO you download from Microsoft. The build-your-own path is recommended because it gives you traceable provenance from the start, not just a hash comparison after the fact.
Before the steps start, there's a decision worth making: is Tiny11 the right tool for what you're trying to do?
Is Tiny11 right for your situation?
Skipping this tends to cause problems. A few specific ones worth naming: installing a modified image on a primary machine and discovering that cumulative updates restore stripped components in unpredictable ways; expecting Microsoft support for post-install issues and finding none; or deploying Tiny11 in an environment that requires an unmodified Windows image for policy compliance.
Tiny11 is a reasonable choice if:
- You're running hardware that meets Windows 11's functional requirements but not its official TPM 2.0 and Secure Boot requirements the builder script is reported to include installer bypasses for those checks, though you should verify this against the current release notes before relying on it
- You're setting up a low-overhead VM for development or testing and want minimal background resource consumption from the start
- You're repurposing an older secondary machine and this won't be a production environment
Tiny11 is probably the wrong choice if:
- This is your primary machine and you need consistent long-term security patching Tiny11 depends entirely on Windows Update, and there's no guarantee stripped components stay stripped after cumulative updates
- You need enterprise features, BitLocker, or any configuration that policy requires be based on an unmodified Windows image
- You're planning to contact Microsoft support if something breaks they won't diagnose issues on a third-party modified image
Microsoft's Windows 11 system requirements documentation is the authoritative source for official minimums. Check it directly for current hardware requirements rather than relying on any third-party summary, including this one.
What Tiny11 is
Tiny11 is a community-modified Windows 11 image produced using the open-source tiny11builder script, maintained by the ntdevlabs project on GitHub. It has no affiliation with Microsoft. The project's GitHub repository describes what the builder script does and what it removes read that page before proceeding, since the current version may differ from descriptions you've seen elsewhere.
One thing to understand before you install: Tiny11 is not a frozen image. Windows Update runs after installation, and cumulative patches may restore components the builder removed. If holding a specific minimal configuration matters for your use case, that's worth knowing now.
Prerequisites: what you need before starting
Confirm each of these before downloading or building anything:
- A target machine or VM with enough storage for the ISO, the extracted build files, and the installation itself check the project repository and Microsoft's requirements page for current minimums rather than relying on third-party figures
- A legitimate Windows 11 license key the builder modifies the image, but verify activation behavior against the current project documentation before assuming anything about how activation is handled
- PowerShell, already present on Windows 10 and 11, if you're taking the build-your-own path
- 7-Zip or Windows Explorer if the prebuilt release is packaged as a compressed archive
- Rufus from rufus.ie if writing the ISO to a USB drive for physical installation; check the Rufus site for the current recommended version and minimum USB drive size
- For VM installs: Hyper-V, VirtualBox, or VMware with the ability to mount an ISO as a virtual optical drive
Tiny11 does not support in-place upgrades verify this against the project repository for the current release, but plan for a clean install.
Step 1: Confirm the current release status before downloading anything
Go directly to https://github.com/ntdevlabs/tiny11builder. If you search instead, verify you've landed on the ntdevlabs repository before downloading anything third-party mirrors frequently host repackaged images with modifications you have no way to audit.
On the repository page, check two things:
1a. Look at the Releases section in the right sidebar. Confirm a release exists for Windows 11 26H2 and that the release notes specify the base Windows build it was built against. If the most recent release references an older build, the 26H2 ISO may not yet be available as a prebuilt download.
1b. Check the release assets for a SHA-256 checksum. A release without a published checksum isn't independently verifiable to this guide's standard if no hash is provided, treat the self-build path (Option B) as your only viable option.
Gotcha: if any page in this flow asks for an email address, survey completion, or routes through an ad-click before the download starts, you are not on GitHub. Close the tab and return directly.
Option A: Download the prebuilt ISO from the official GitHub release
Use this path if a 26H2 release exists in the repository, a SHA-256 checksum is published alongside it, and you're comfortable accepting a prebuilt binary from a community project.
A1. From the confirmed Releases page, download the ISO or archive listed under the 26H2 release assets. Save it somewhere you'll remember you'll need the full path shortly.
A2. If the download is a .zip archive, extract the .iso using 7-Zip or Windows Explorer before proceeding.
A3. Verify the file hash in PowerShell before doing anything else with it:
Get-FileHash C:\path\to\tiny11_26H2_x64.iso -Algorithm SHA256
Compare the output against the checksum in the GitHub release notes, character by character. A mismatch means a corrupted download or a tampered file. Delete and re-download once before drawing conclusions. If a hash from any mirror consistently differs from the GitHub-published value, don't use that file.
What you should see: A hash string that matches the release notes exactly. If it does, proceed to Step 4. If it doesn't, use Option B.
Option B: Build the ISO yourself from a clean Microsoft source (recommended)
Use this path if no verified prebuilt release exists for 26H2, the prebuilt hash doesn't match, or you want to control the source material. Building from a Microsoft-distributed ISO means verifiable provenance rather than trust in a binary you didn't assemble.
B1. Download the official Windows 11 26H2 ISO from Microsoft's Windows 11 download page. Select the disk image option and choose the 26H2 build. Save it locally.
B2. Download the tiny11builder script from the ntdevlabs GitHub repository. Confirm the current script filename against the repository it has been tiny11maker.ps1 in past releases, but verify before running. Download directly from the repository, not from any third-party copy.
B3. Mount the official ISO: right-click the file in Windows Explorer and select Mount. Note the drive letter Windows assigns to it (for example, D:).
B4. Open PowerShell as Administrator and set the execution policy:
Set-ExecutionPolicy RemoteSigned -Scope CurrentUser
This changes script execution behavior for your current user account. To revert after the build, run Set-ExecutionPolicy Restricted -Scope CurrentUser.
B5. Navigate to the folder containing the script and run it:
.\tiny11maker.ps1
The script will prompt for the source drive letter and an output path for the resulting ISO. Build time will vary by disk speed don't interrupt the process.
What you should see when it finishes: A new .iso file at your output path with no error messages in the PowerShell window. Run Get-FileHash on the output file and record the hash. If you ever need to verify this image later, or share it, that hash is your reference.
Warning: set your output path carefully before running. The script writes working files and the final ISO to wherever you direct it. Don't point it at a directory containing files you need to keep.
Step 4: Write the ISO to bootable media (or skip to VM setup)
For VM installations, skip this section. Attach the ISO directly as a virtual optical drive in Hyper-V, VirtualBox, or VMware and proceed to the installer.
For physical installation:
4a. Plug in your USB drive. All existing data on it will be erased.
4b. Open Rufus. Under "Boot selection," click SELECT and navigate to your verified Tiny11 ISO.
4c. Set partition scheme to GPT and target system to UEFI (non-CSM) unless your target hardware requires legacy BIOS, in which case switch to MBR.
4d. Click START. Rufus may present a "Windows User Experience" dialog with options to bypass TPM, Secure Boot, and RAM checks. Select options appropriate for your hardware. Bypassing these checks affects the installer's behavior it does not change Microsoft's long-term support status for hardware that doesn't meet official requirements.
4e. When Rufus shows READY in green, the drive is done. Boot your target machine from the USB using its BIOS or firmware boot menu.
What to do immediately after installation
The verification work is done. What matters now is the first few steps after install these tend to get skipped, and they matter.
Check activation first. If it doesn't activate automatically with your license key, resolve that before anything else. Then run Windows Update once, deliberately, to establish a clean patch baseline and surface any compatibility issues early rather than after you've configured the environment.
If this is a VM, take a snapshot before you install any software. A clean post-install snapshot is worth considerably more than one taken after you've added tools, because it gives you a fast path back to a known-good state.
Keep the original Microsoft ISO you downloaded. If you need to rebuild, starting from a verified Microsoft source is faster and cleaner than tracking down another copy later.
Before any future rebuild, check the Commits section of the ntdevlabs repository to see whether the script has been updated since your last build. Running an outdated builder against a newer Windows base image can produce inconsistent results a quick check takes thirty seconds and saves a failed build.


Comments
Be the first, drop a comment!